If you run a multi-tier business—free preview, core membership, premium coaching—you need two ideas that stay separate: who can see what (permissions) and how they pay (commerce). Member Kitchens keeps those apart with access levels and offers. You build one content library, label each tier with its own level, and sell subscriptions or one-time products that grant those levels. You do not copy every recipe for every plan.
After a bulk document import, set each recipe to Public, Members Only, or Assigned Only so tiers see the right catalog without duplicating recipes.
Permissions vs. payments (why tiers stay sane)
Access levels answer: “Which members can open this meal plan, course, or resource?” They do not charge cards or define prices.
Offers answer: “What can someone buy, and which access levels do they receive after checkout?” Stripe (or an external payment you record manually) lives on the offer side.
That split matters for multi-tier models. You might sell monthly and annual subscriptions, a one-time course, and a comped VIP link—all granting different combinations of the same underlying levels. Your catalog stays single-source; only the permission tags change.
Design tiers for your business model
Start by naming the tiers members recognize—not internal database jargon. Examples:
Hierarchical: Free browse → Core → Pro → All Access.
Parallel packages: Keto track, Desserts track, Family plan—same price band, different content lanes.
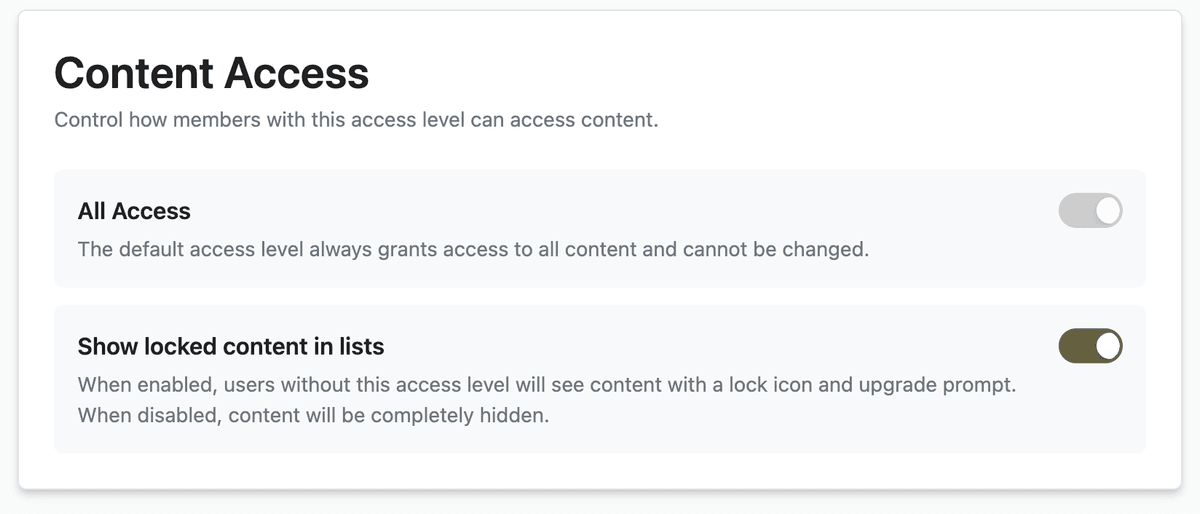
Create each tier under App Station → Monetization → Access Levels. For a true top tier, enable Grants access to all content on that level (new tenants ship with a default “All Access” level that works this way).
When you restrict a recipe or plan to paying members, you attach one or more levels in Members Only mode. The rule is OR: if a member has any of the levels you listed, they can open the item. That is how you bundle “Core OR Legacy annual” on the same premium library without duplicating files.
Parallel packages are not second-class—they are the same mechanism. “Keto” and “Desserts” are two access levels; keto recipes require the Keto level, dessert recipes require Desserts, and a member with both sees both.
Per-level options such as Show locked content in lists control whether members without access see a teaser (upgrade prompt) or never see the item in grids and search. Match that to your marketing: tease the premium tier, or hide it until they upgrade.
Three visibility modes on every piece of content
On each item in Content Library, the Publishing / Access controls set a base visibility:
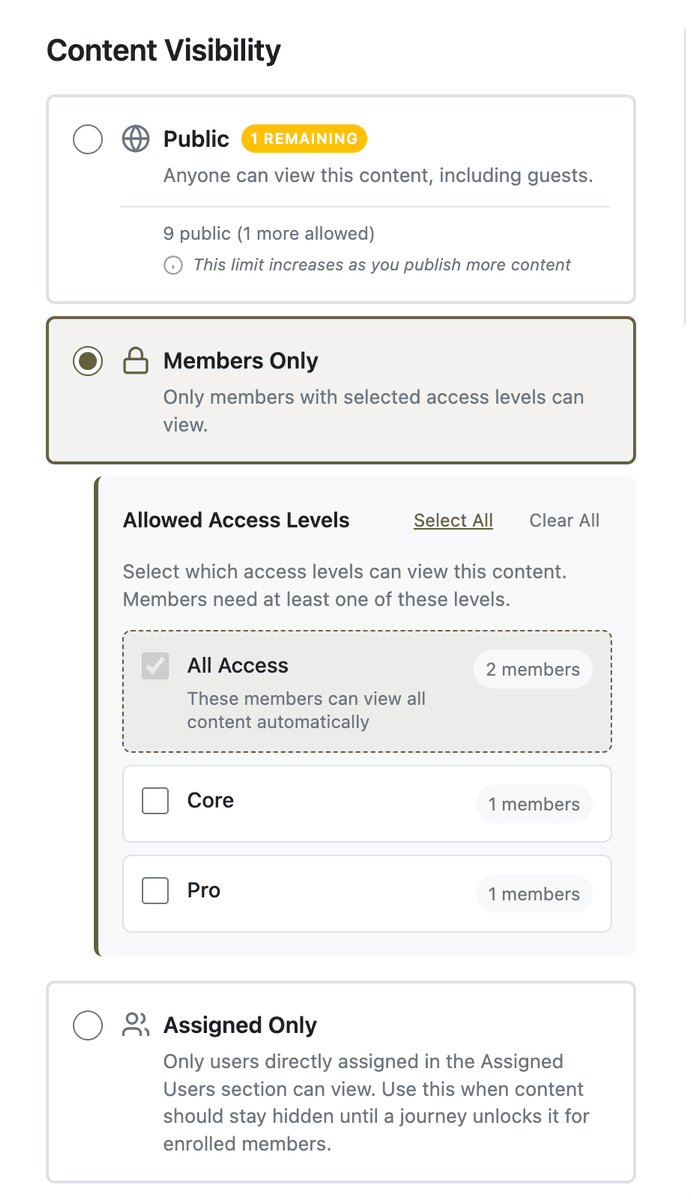
Public — Anyone can view, including guests. Use for marketing recipes, sample plans, and SEO-friendly pages.
Members Only — Only members who hold at least one of the access levels you select. This is the workhorse for paid tiers.
Assigned Only — Only people you explicitly assign (for example through journeys or direct grants). Use when content should stay invisible until you enroll someone.
Pick levels under Members Only with the selector copy in mind: “Select which access levels can view this content. Members need at least one of these levels.” Members with All Access (or any level that grants all content) still see everything regardless of those checkboxes.
Content with no access level restrictions behaves as public for viewing purposes. Admins always see the full library while configuring the app.
Wire content to tiers at scale
You do not set tiers only when you publish your first recipe. You maintain them as the business evolves:
Open a recipe, meal plan, resource, or course → Publishing tab → set visibility and levels.
Use bulk actions in Content Library to change access levels across many items after you introduce a new tier.
Use Content grants on a specific item when one member needs an exception—coach override, beta tester, or gifted access—without changing the tier rules for everyone else.
Think of access levels as labels on the content graph; offers and grants are how people acquire those labels.
Sell each tier with offers
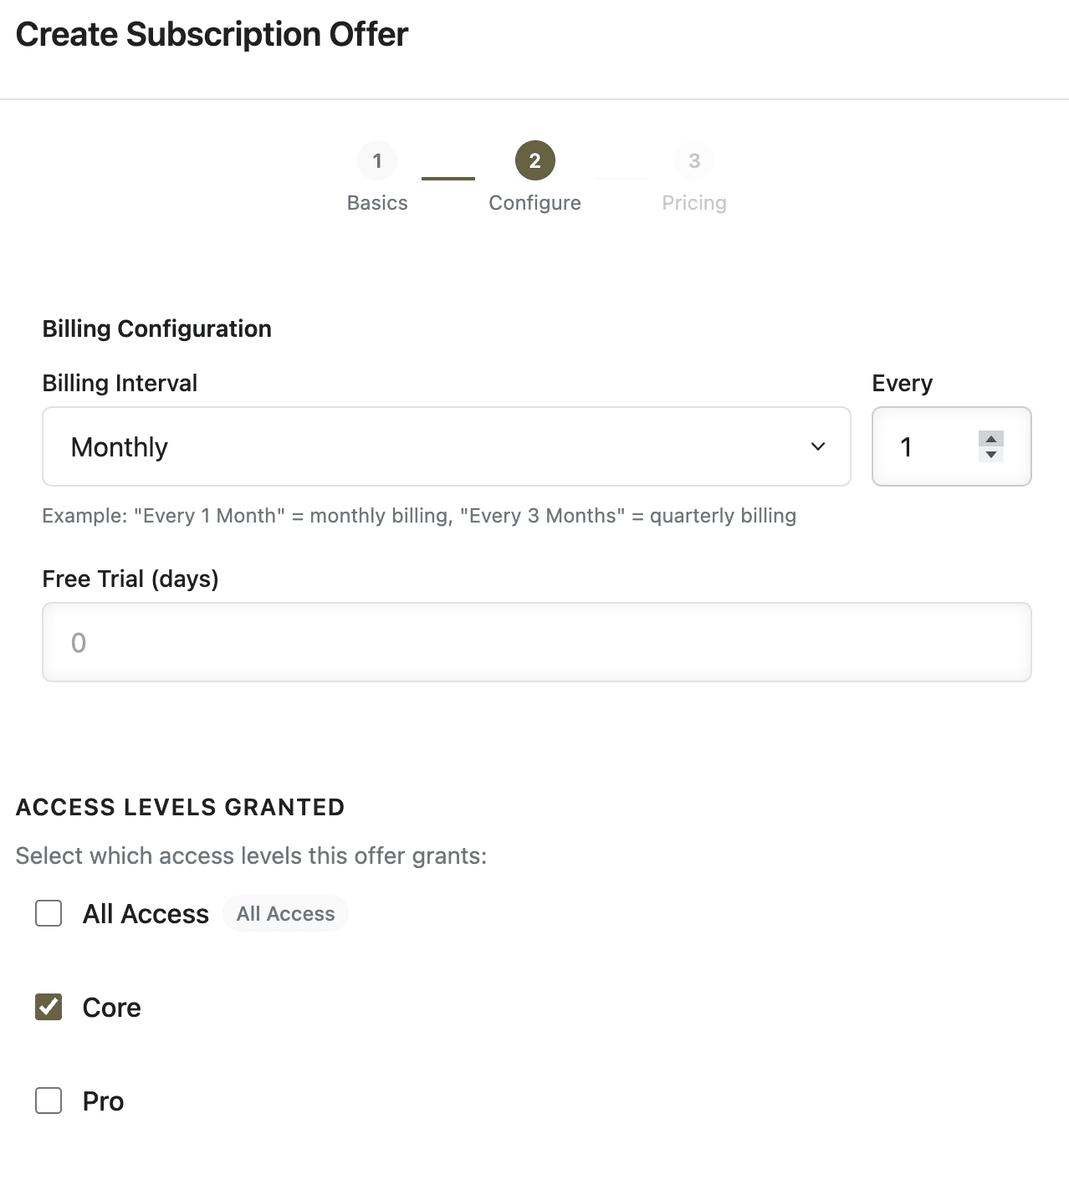
When tiers are defined, create Offers under App Station → Monetization → Offers. Each offer grants one or more access levels after purchase—your “Core monthly” offer grants Core; your “Pro annual” grants Pro (or Pro + bonuses if you select multiple levels).
Subscriptions — Recurring access; members typically hold one active subscription per subscription group, with upgrades handled in the Customer Portal rather than double-charging for two plans in the same group.
One-time offers — Lifetime or time-limited access to the levels you attach.
Free offers — Still grant levels; useful for free-tier registration that unlocks a “Free member” level with narrow permissions.
Unlisted offers — Hidden from the public upgrade page but still purchasable via checkout links you share privately (launch cohorts, partners, renewals).
Changing what a tier includes is an access-level and content-tagging exercise. Changing what it costs is an offer exercise. Keeping the mental model crisp prevents “we edited the price and accidentally moved half the library.”
What members experience
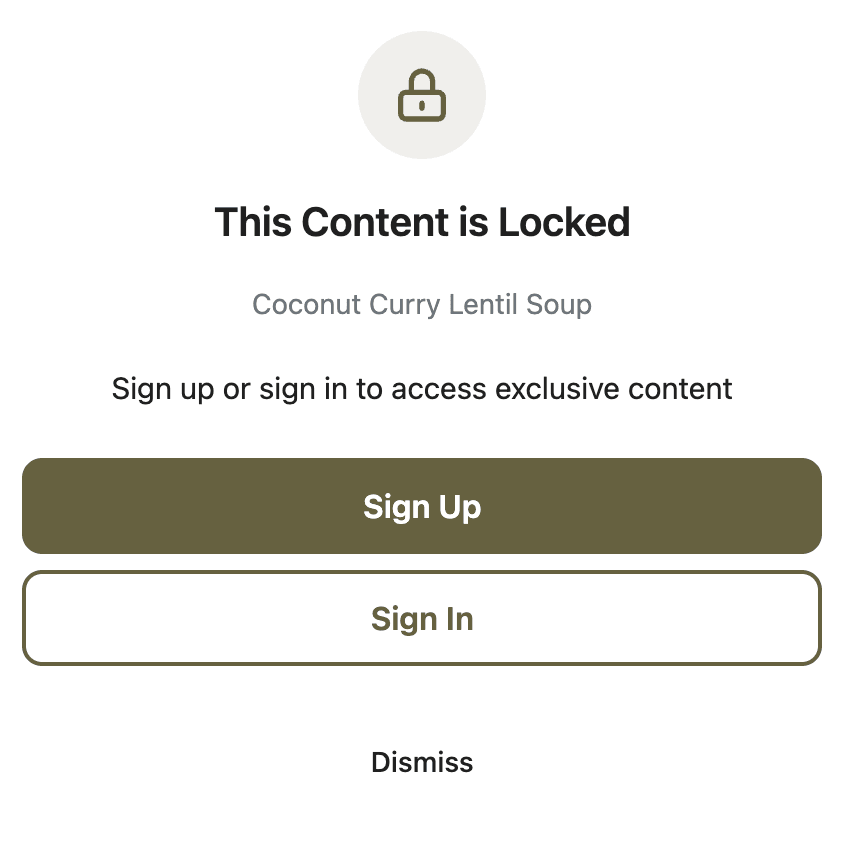
Guests and free members see Public content. For Members Only items they lack, they either see locked cards with upgrade paths (when your levels use show-locked behavior) or do not see the items at all.
After purchase, newly granted levels take effect for content checks; OR logic means the union of everything their levels unlock.
Plan changes through the customer portal remap which offer granted their levels so access follows the new product instead of leaving stale permissions.
Before go-live, use preview from Access Levels (guest vs. a specific level) to confirm the right library shape for each tier.
Enable Can modify meal plans on the tiers that should use recipe swap options in meal plans.
Launch checklist for a three-tier model
Deliver a different “this week” experience per tier with Weekly Schedules—one active schedule per access level.
Write tier names and what each tier should include (outcomes, not feature dumps).
Create access levels in Monetization → Access Levels; enable Grants access to all content only on the true top tier if you need one.
Tag content: public teasers → Public; paid core → Members Only + Core level; premium → additional levels or top tier.
Create offers that grant the matching levels; connect Stripe before selling paid offers.
Preview as guest and as each level; click a locked item and confirm the upgrade path.
Import or comp a test member, purchase (or grant) a tier, and confirm they gain access without you retagging content.
Multi-tier businesses fail when permissions are baked into product names or duplicated per plan. Access levels give you a single professional permission model; offers plug in the commerce you choose for each tier.