
You already have recipes in your library. The next step is giving members a plan--not another PDF, but a structured week they can open in your app, cook from, and shop for.
In a few minutes you can create a meal plan, slot recipes into days and meals, auto-generate a grocery list, and publish. Watch the demo or follow the steps below. If you are starting from scratch, do Create your first recipe first.
What it is
A meal plan in Member Kitchens is a weekly grid: days across the top, meal sections down the side (Breakfast, Lunch, Dinner, and so on). Each cell holds one or more recipes. When you publish, members see that schedule in your branded app--and can open a shopping list aggregated from everything on the plan.
This post covers your first admin-created plan. Layout templates, daily nutrition summaries, and shopping-list curation are follow-ups once the basics are live.
Where to start
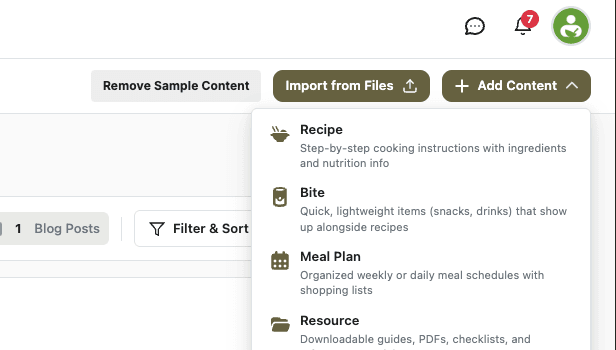
Open App Station → Content Library, click Add Content, and choose Meal Plan. You land in the meal plan editor on the title-first screen.
Enter a clear title (e.g. “Week 1 Starter Plan”). If your kitchen has more than one meal plan template, pick the layout you want--otherwise the default is chosen for you. Save to create the plan and open the full editor.
How it works -- add recipes to the week
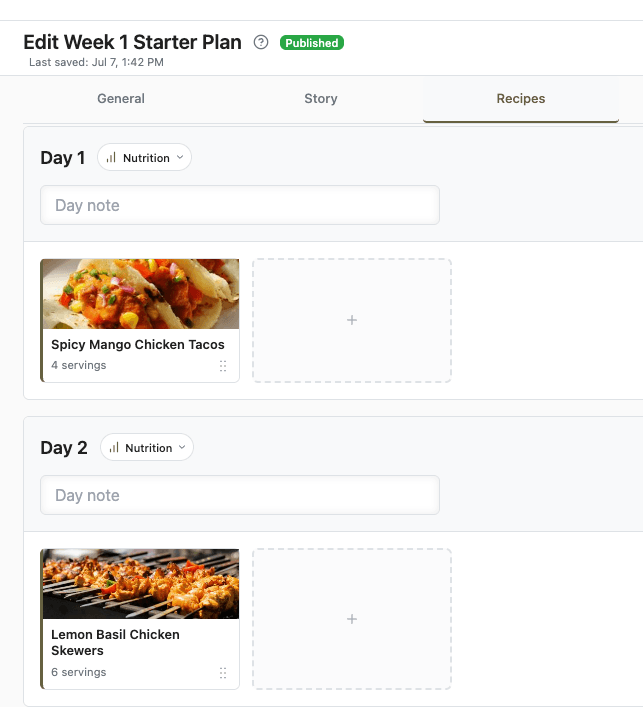
Go to the Recipes tab. You will see the weekly grid for your plan.
Click a day/meal cell or use Add Meal to open the recipe picker.
Search or filter your library and add recipes to two or three days for a first plan--Mon/Wed/Fri dinner is enough for a demo; a full week can come later.
Adjust servings on a recipe if your plan serves a different household size; servings affect the shopping list quantities.
Recipes stay in your Content Library; the meal plan only schedules them. You can open a recipe from the grid to edit it and return to the plan when you are done.
How it works -- generate the shopping list
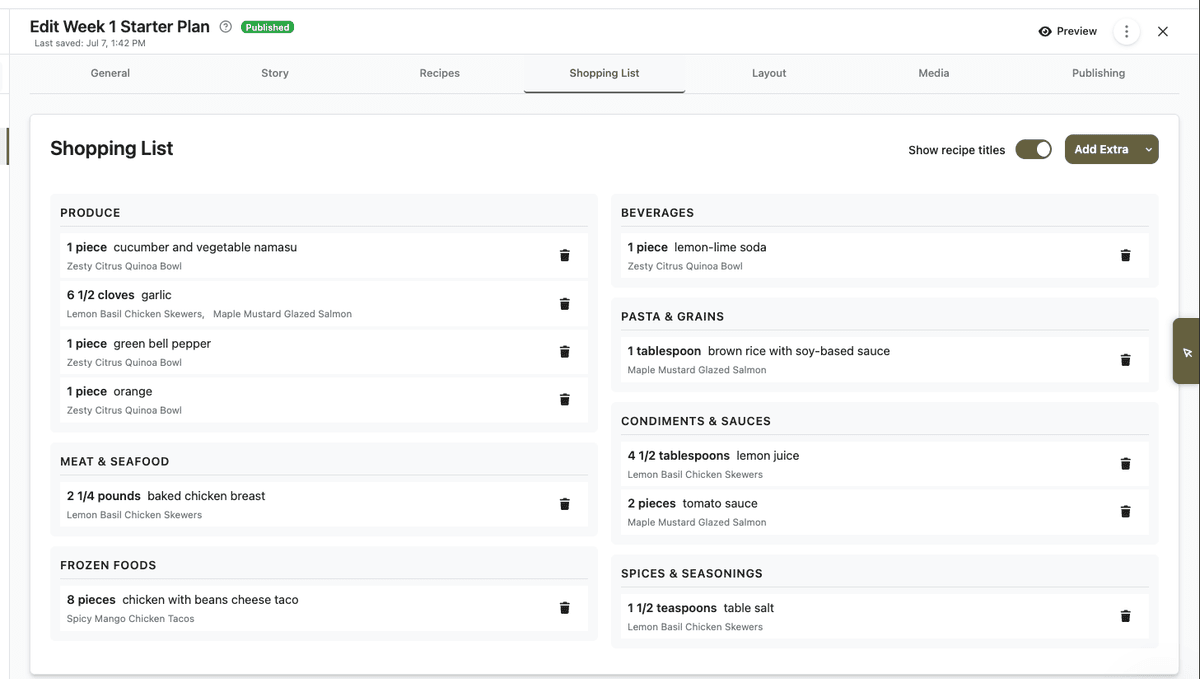
Open the Shopping List tab and click Generate Shopping List. Member Kitchens rolls up ingredients from every recipe on the plan, respects servings, and groups items for grocery shopping.
That single step is often the “aha” for members: they are not copying ingredients from five recipes into Notes. If ingredients look wrong, fix them in the ingredient library or on the recipe--not on the list itself.
What to configure before you publish
General -- Short summary for cards and search (optional but helpful).
Media -- Cover image so the plan stands out in your library and on member home screens.
Publishing -- Publish date and access level so the right members can see the plan. See access levels if you have not set those up yet.
Skip the Layout tab for now unless you need to rename days or hide meal sections--the default week layout works for a first plan.
What members see
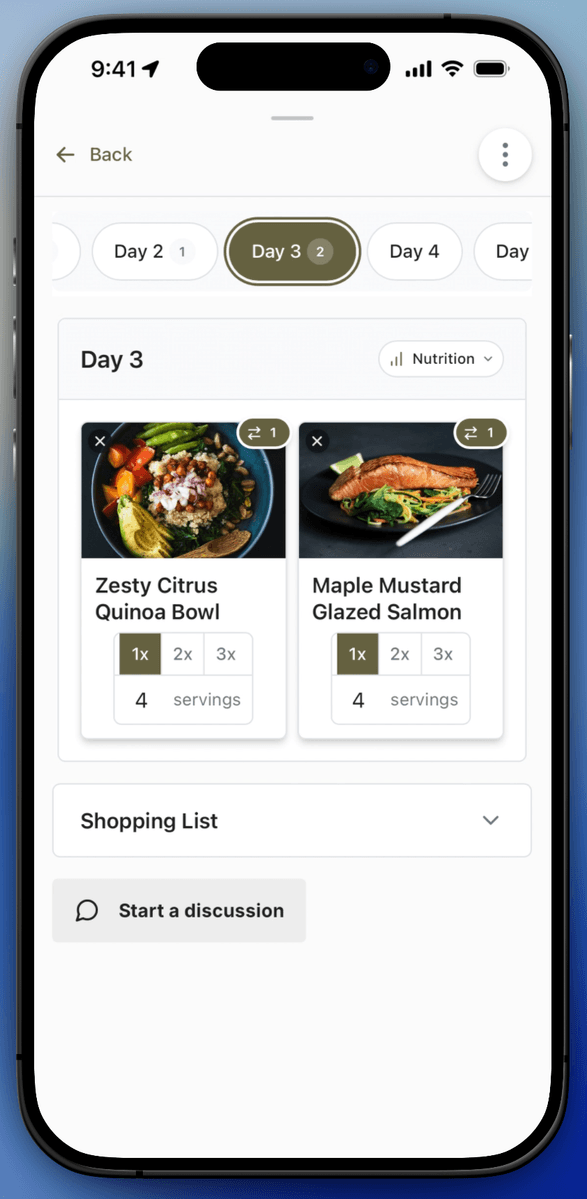
Published meal plans appear wherever you surface content--library, collections, home page blocks, or programs. Members tap the plan, browse the week, open individual recipes, and use the built-in shopping list. From there they can export or shop--see shopping list shop and export options for what you can enable later.
Quick-start checklist
Confirm you have recipes in Content Library (create your first recipe if not).
Add Content → Meal Plan and name the plan.
Recipes tab -- add meals across the week.
Shopping List tab -- Generate Shopping List.
Add a cover image and set access on the Publishing tab.
Publish and preview as a member.
One solid week beats a sprawling library no one opens. Ship a small plan, watch how members use the list, then expand days or add plans for your next program.